


Hi folks, If I told you that you could make your database smarter? And if I told you that your database can do the thinking part and make predictions utilizing the existing datasets that too by running a few queries. Many folks will be wondering about how a database can think and do the Machine Learning task!! Yes, you heard me right, you can do it all using Mindsdb. MindsDB enables you to use your data and make forecasting easily with minimal effort.
Intro to Mindsdb
Mindsdb is an Open Source Software and it's a super awesome tool to use with different databases, it helps make predictions based on data and train ML models directly through the database. MindsDB brings machine learning into databases by employing the concept of AI Tables. There are integrations available for various databases which can be used to connect various databases to mindsdb)
How can we use Mindsdb?
Mindsdb provides both Cloud i.e Mindsdb Web Editor and Local usage options. You can install mindsdb using pip and python or using its docker image and run the mindsdb docker container to set up Mindsdb locally.
I will be talking specifically about the Mindsdb Web Editor in this tutorial. The Mindsdb web editor makes learn Mindsdb an easy and enjoyable experience and it supports SQL by default.
We will be also explore the Mindsdb Web Editor and then learning how to train ML models for making predictions based on datasets using mindsdb.
All right, let's get started!!

Prerequisites :
- First of all, for this tutorial we will require a Mindsdb account, which you can create one if you haven't already, it has a free trial for 30 days and no need for a credit card to sign-up.
Sign-up: cloud.mindsdb.com/register
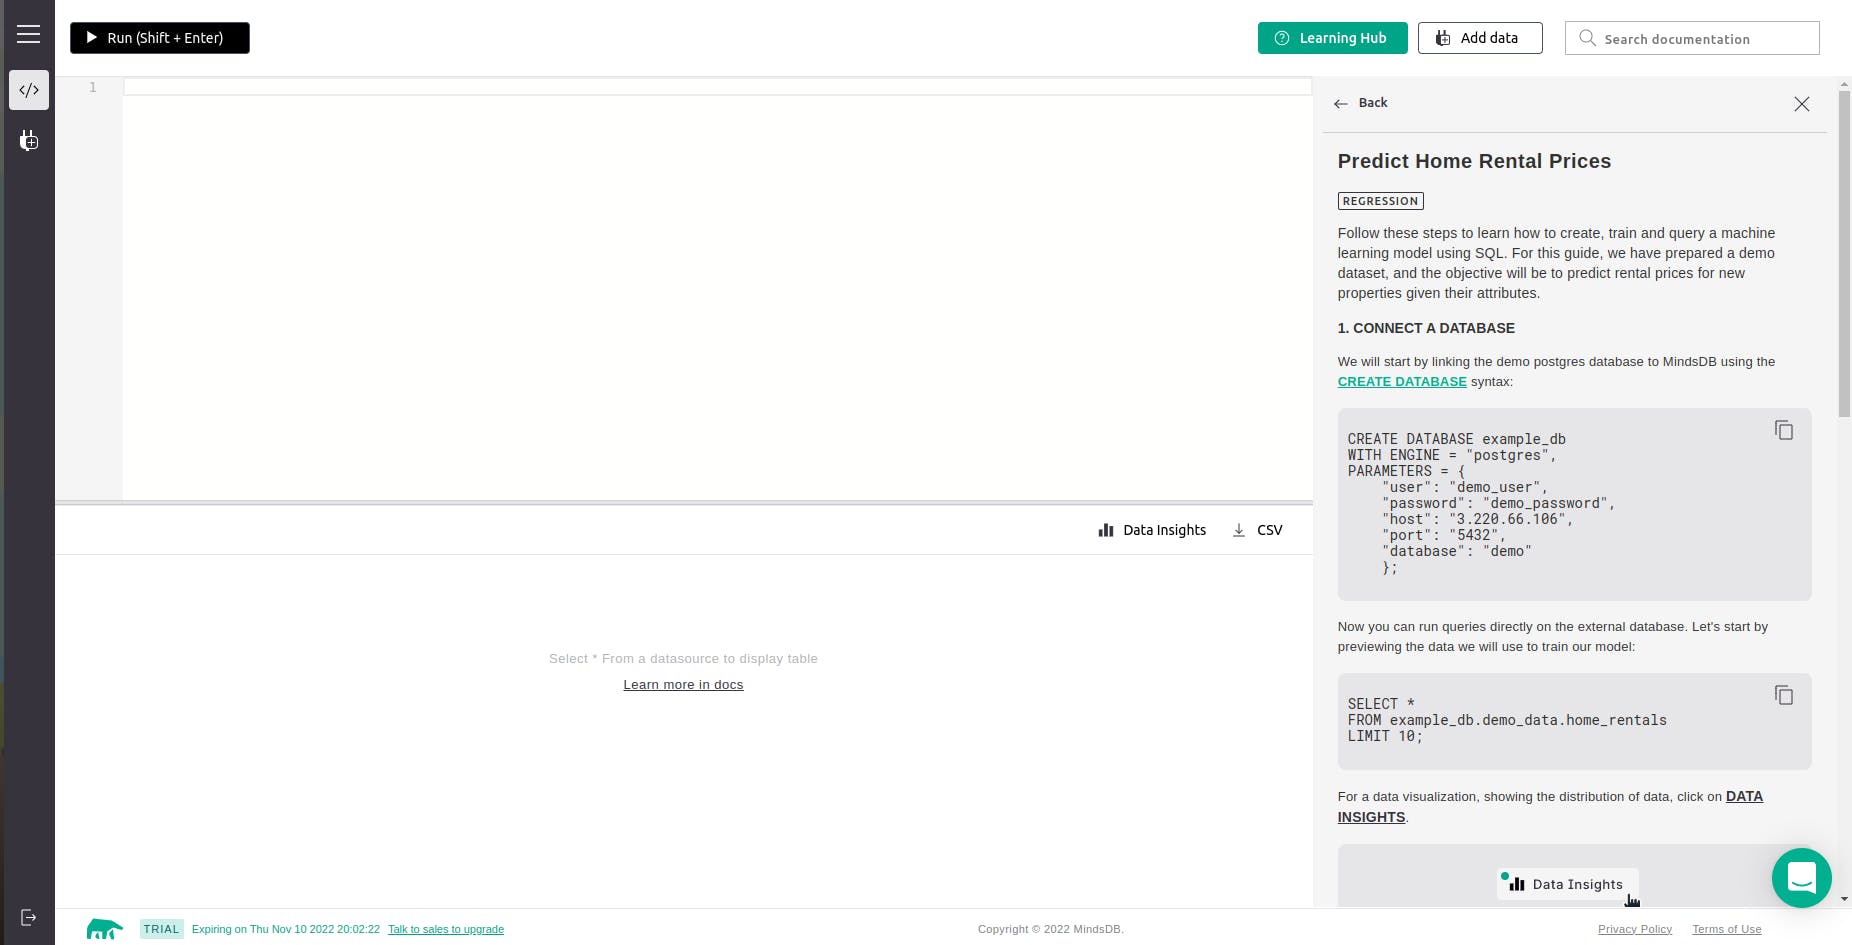
- After signing up verify your email and you will see an interface which looks somewhat like this 👇
Exploring MindsDB Web Editor :
At the top-left, we have the
runbutton which helps us run queries.
Then on the top-right, we have the
learning huboption which has nice documentation of how to use the mindsdb cloud editor with examples.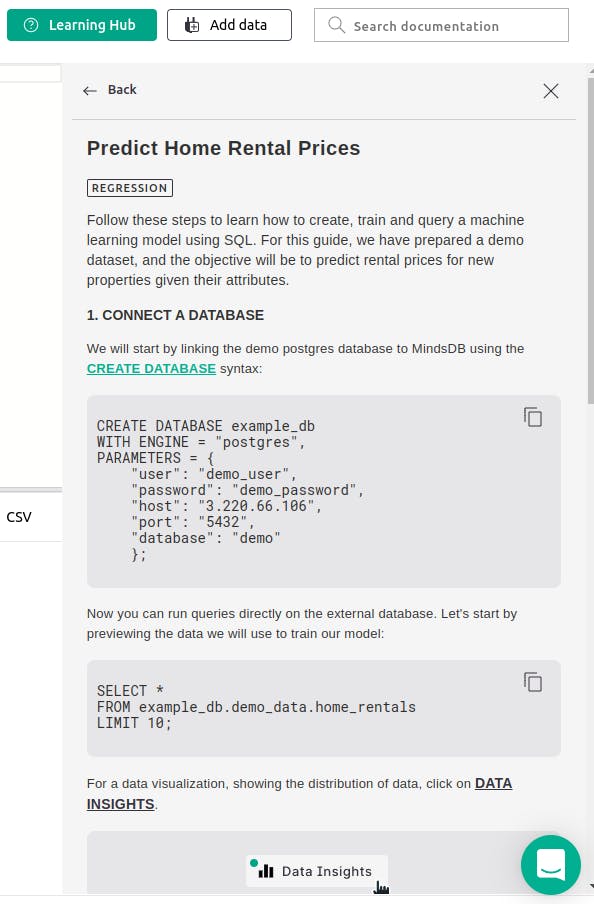
Then comes the
add databutton. When you click on it, you will find an interface something like this
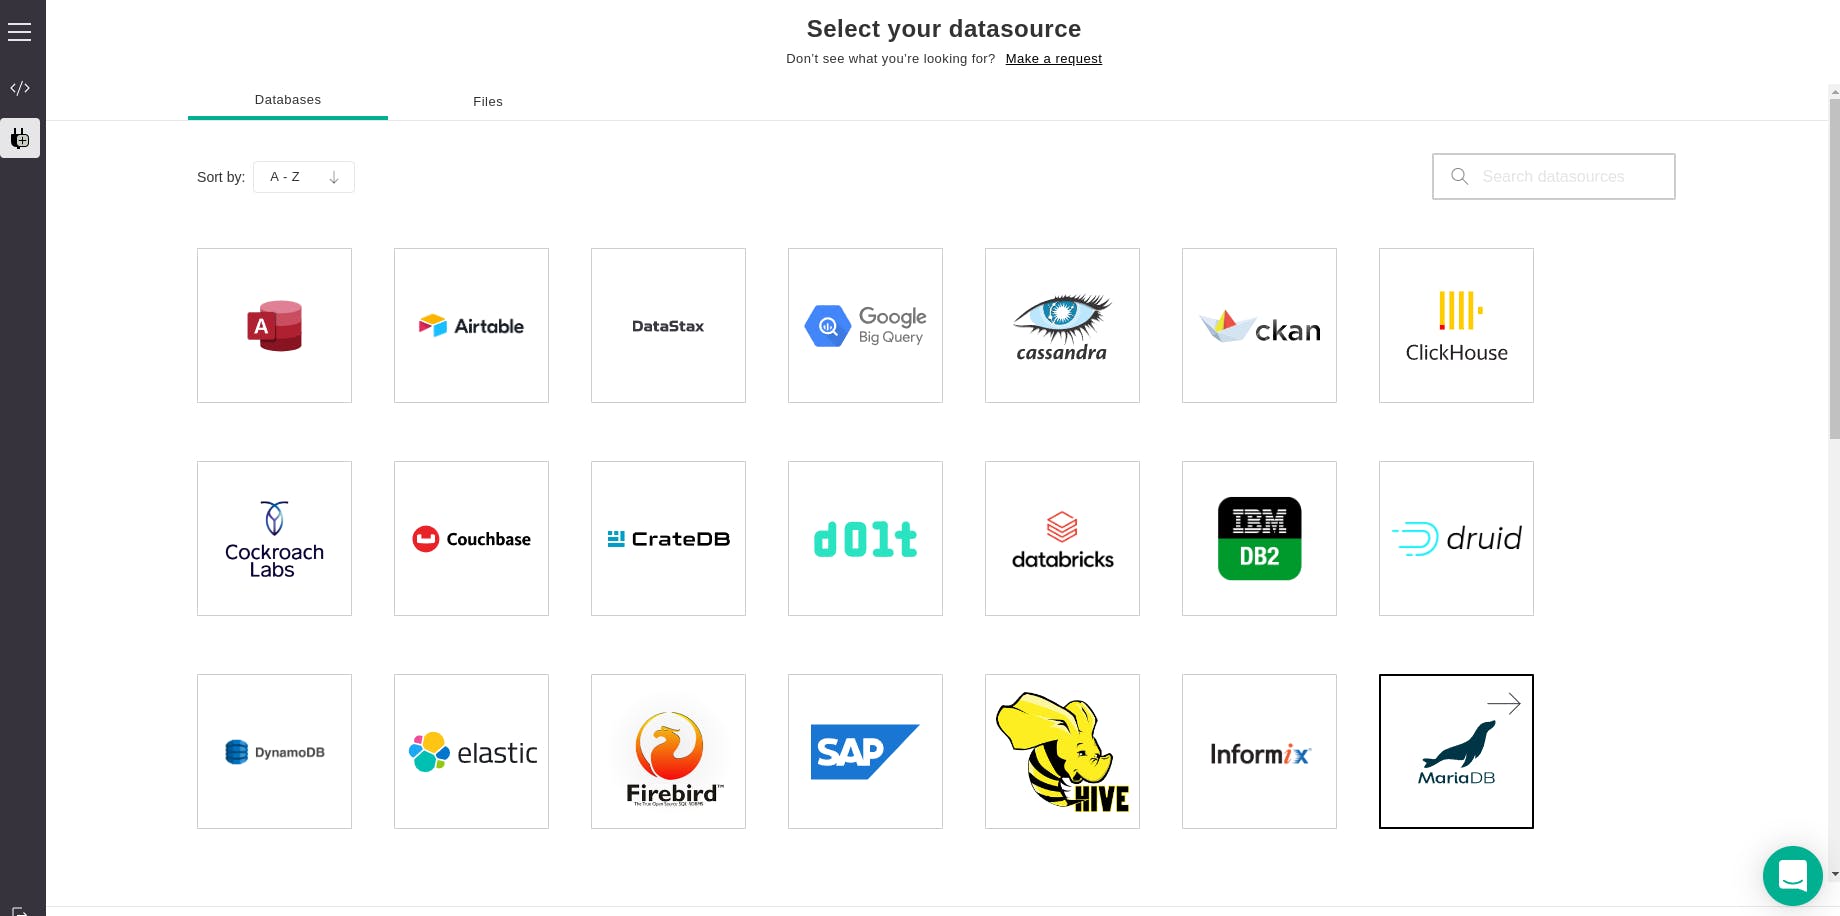 And you will have 2 options one is
 Databasesand the other isFiles. TheDatabasesoption helps us integrate and use different databases. When we select any of the database options we are redirected to the editor panel and the query boilerplate is added automatically to our editor panel.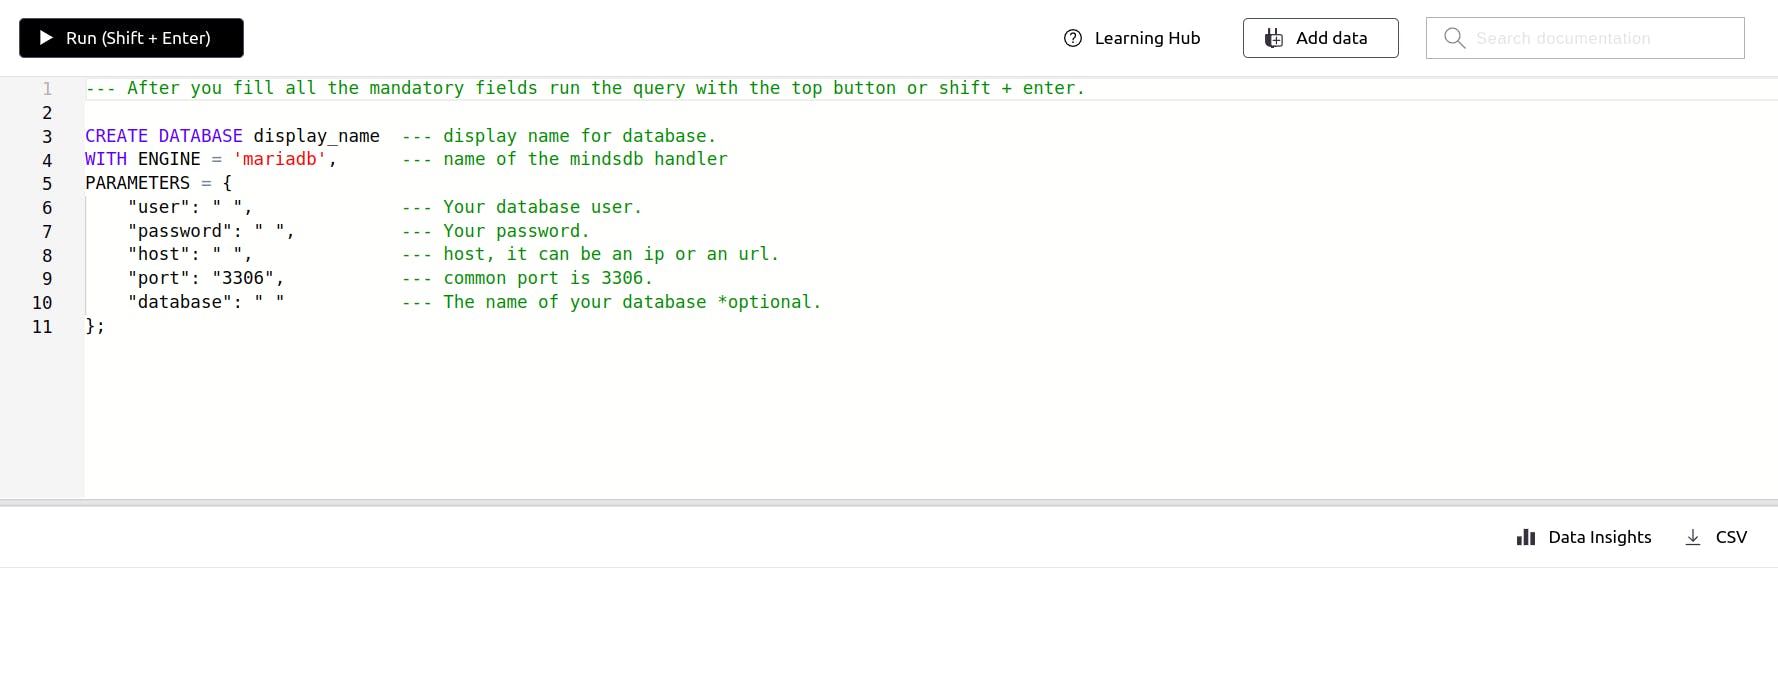 And the
 Filesoption will help us import files, import data from URL and Shopify.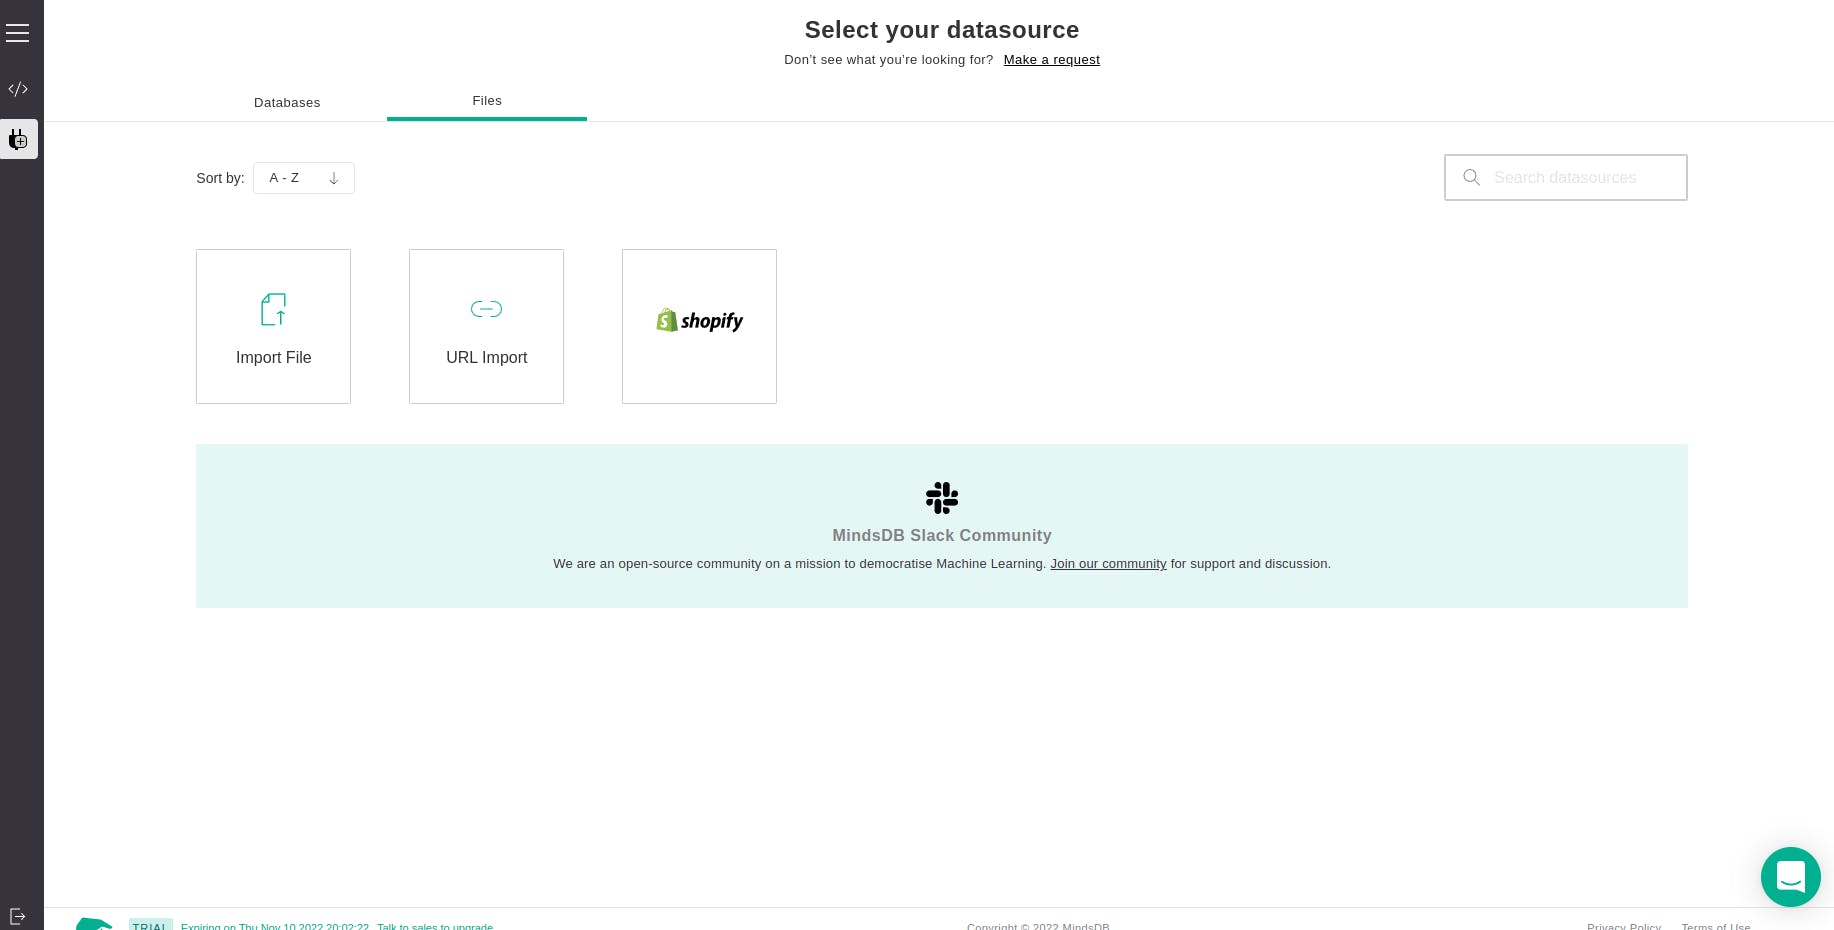
The third option in the app bar is the
search bar, which lets you get guidance from mindsdb documentation.
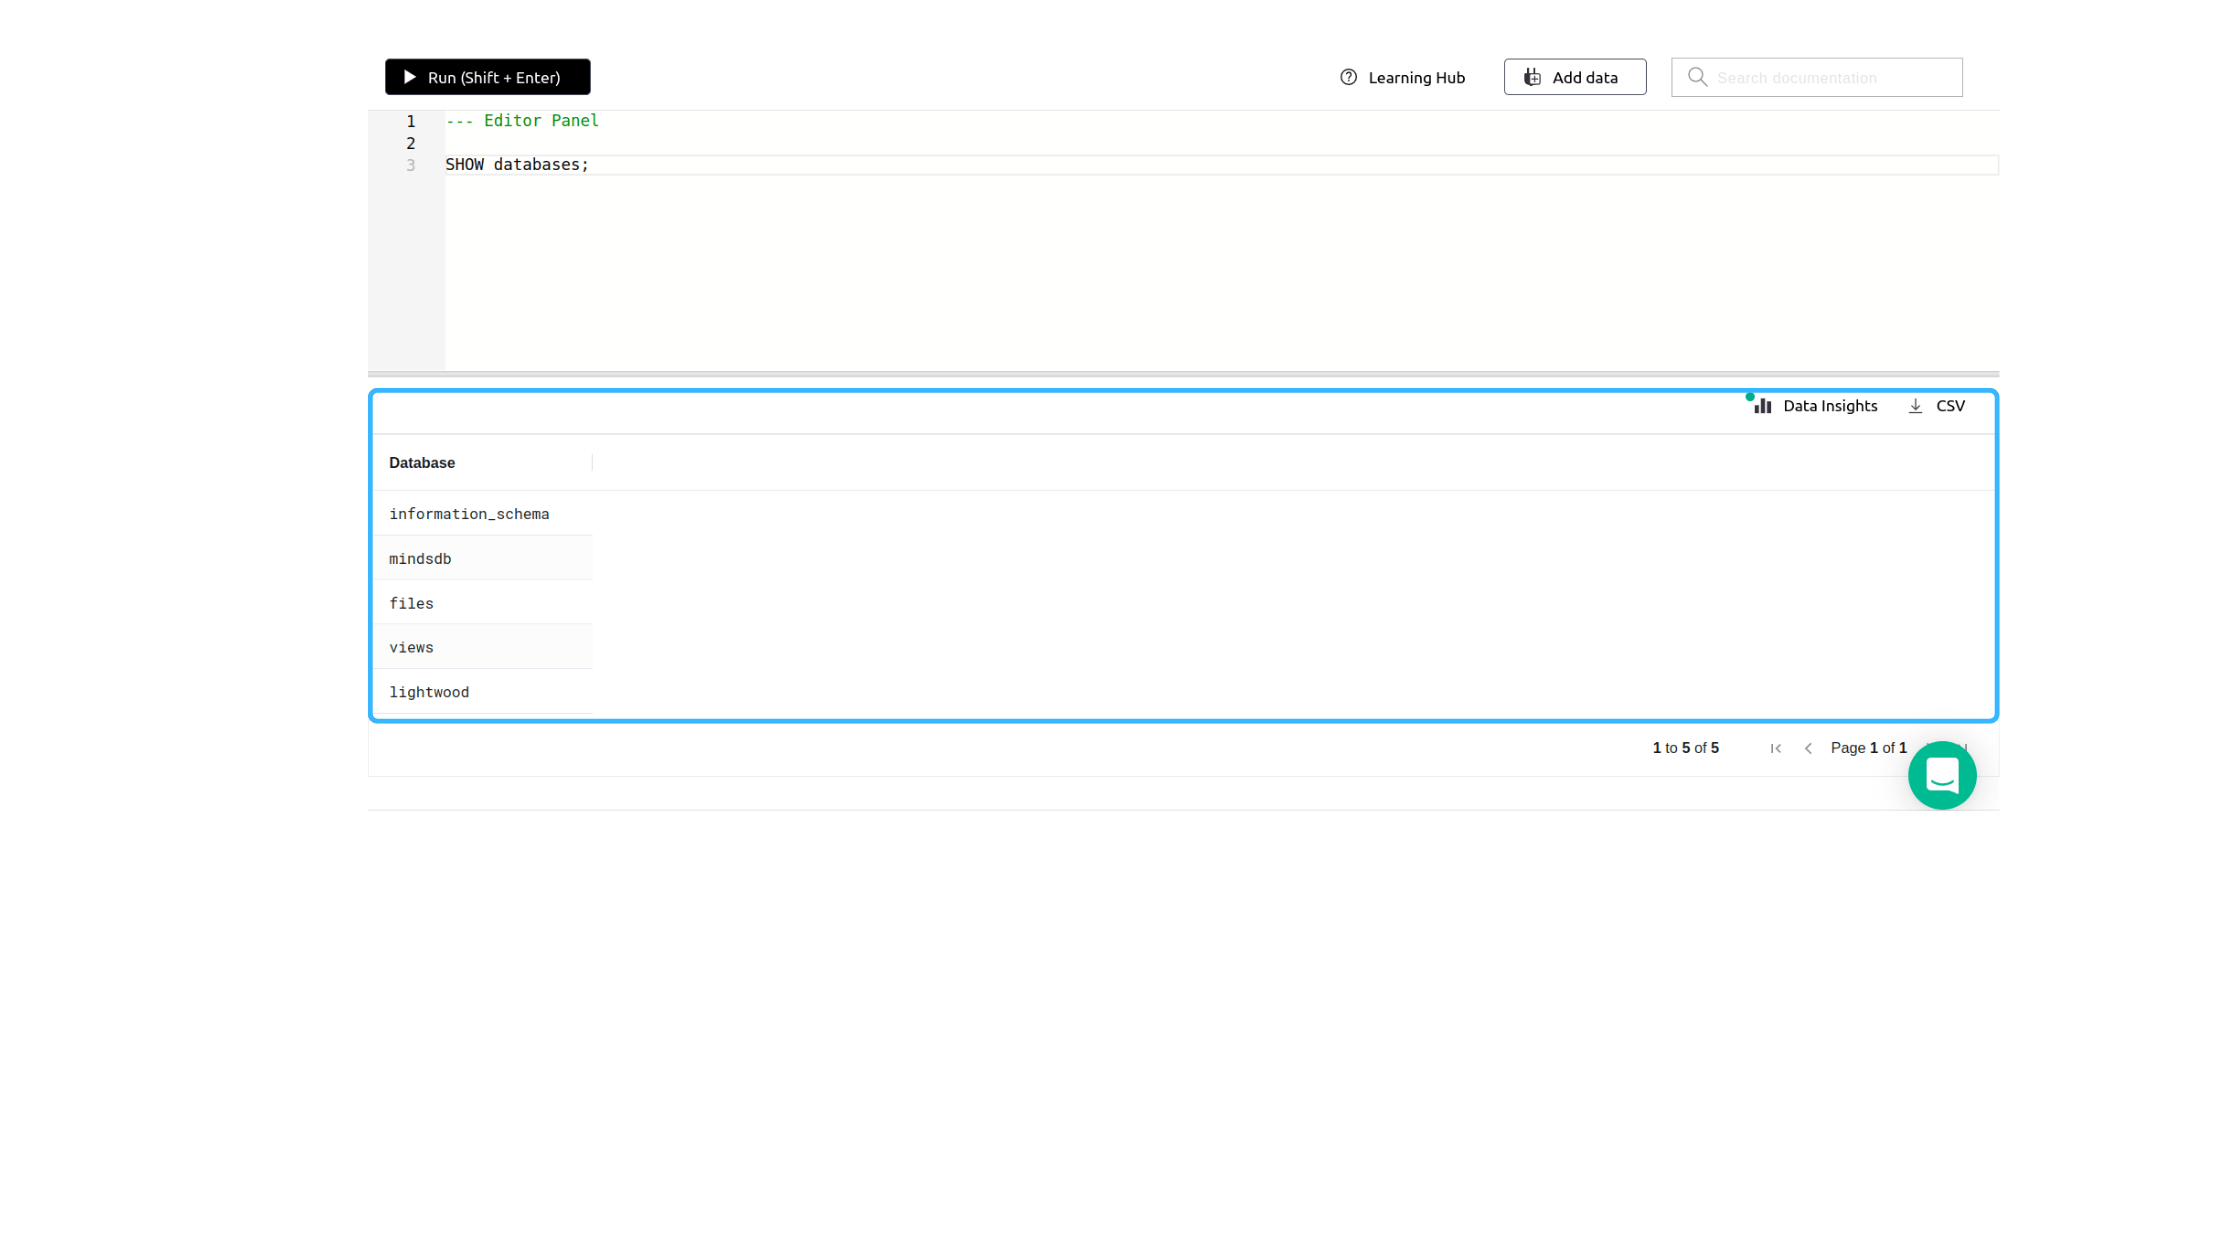
After the App bar, you can see the main Mindsdb editor panel where you can write your queries
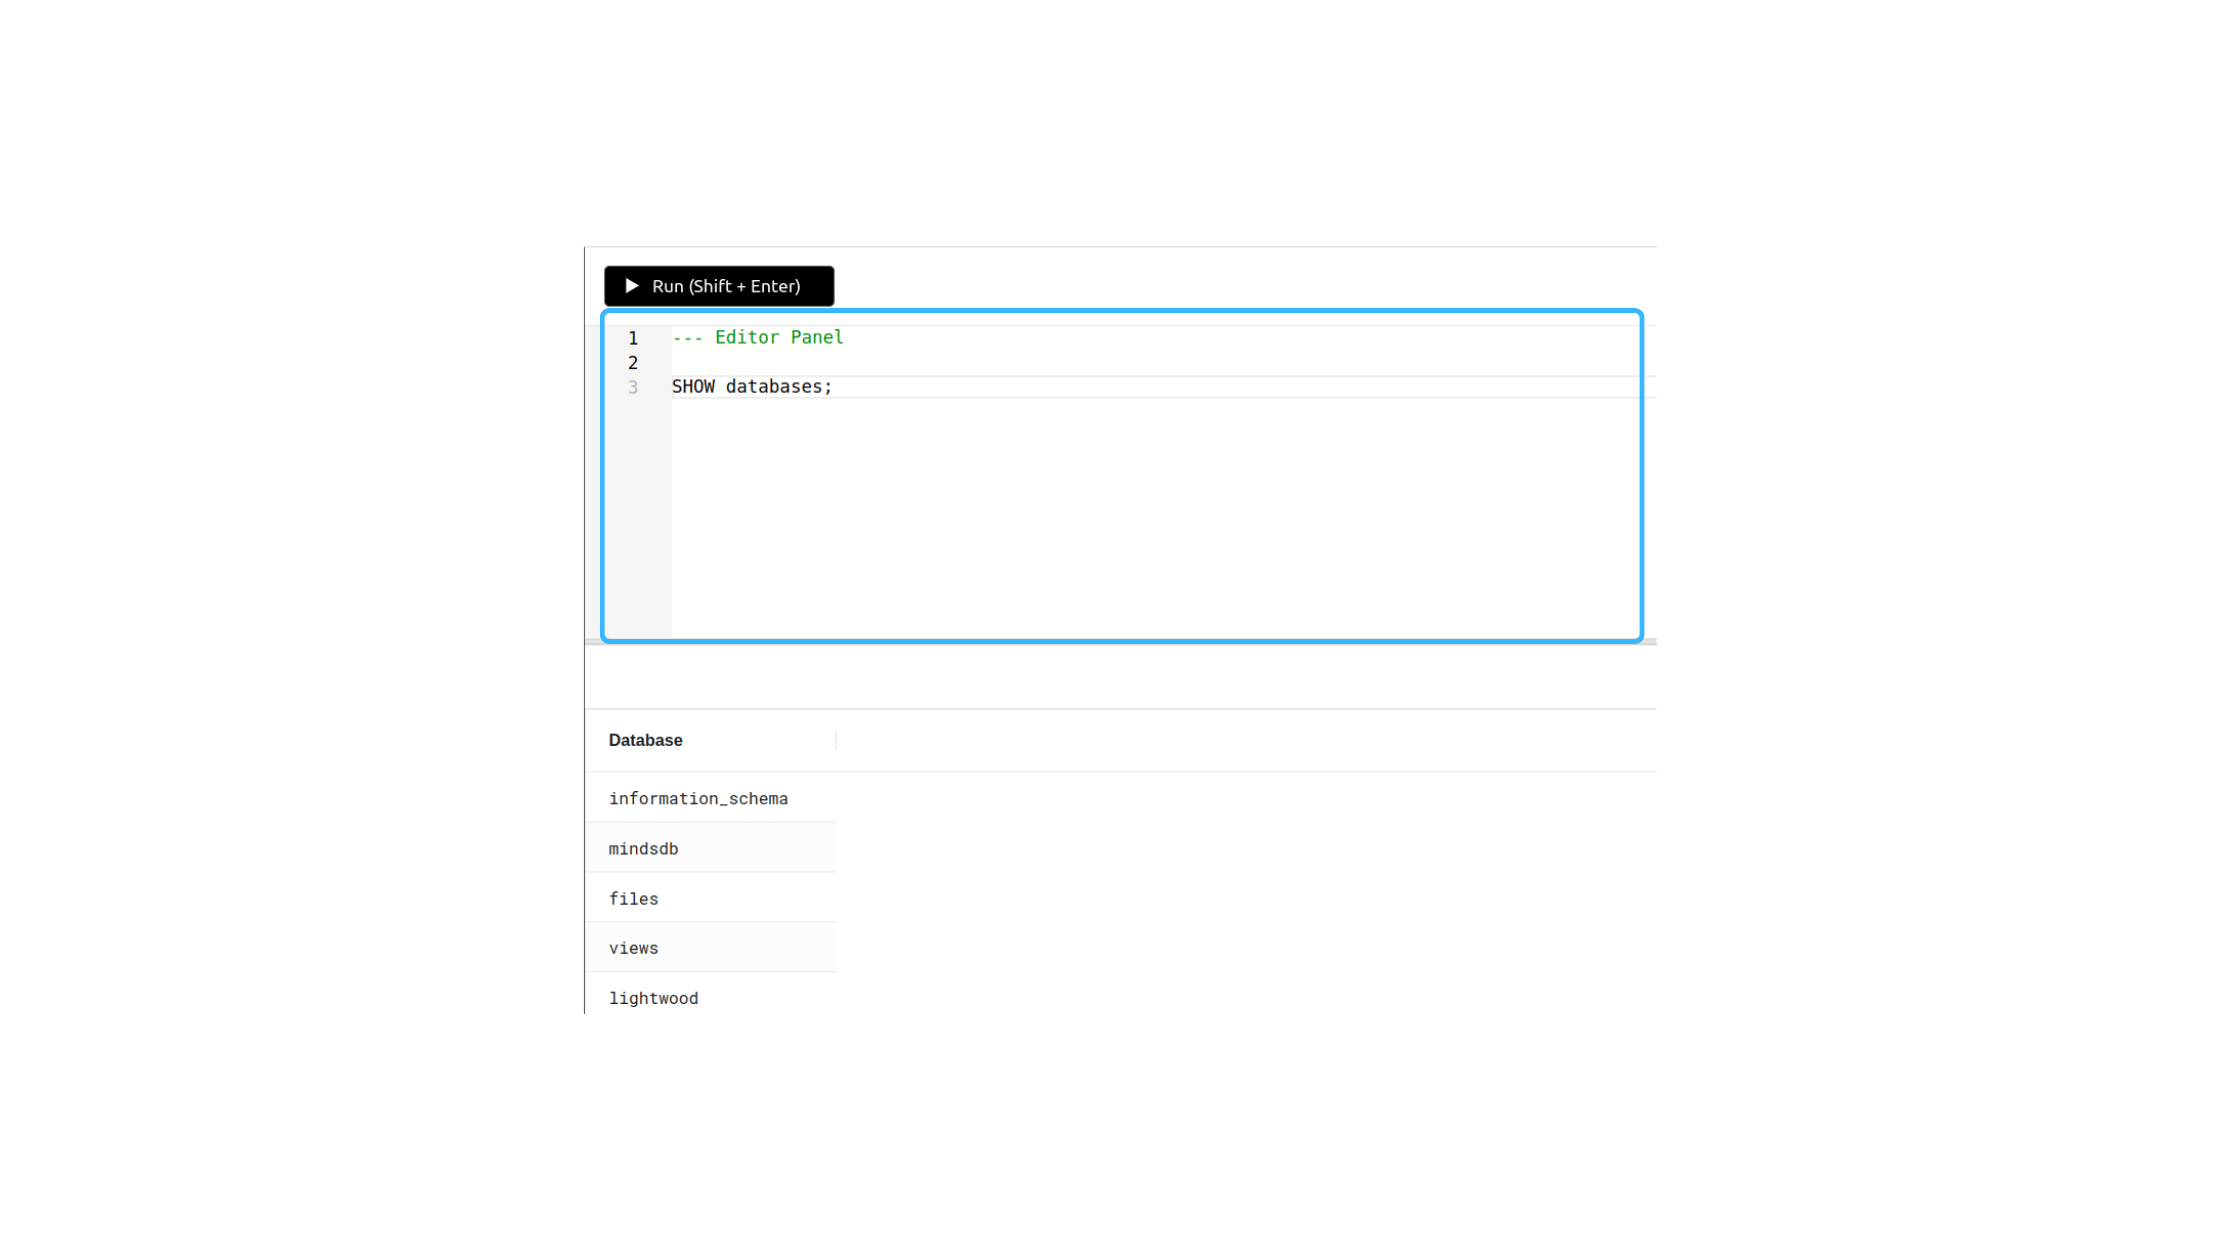
And at the bottom of the interface, we have a Result viewer/output section that lets us view the output of the executed query
 And even lets us visualize our data using the
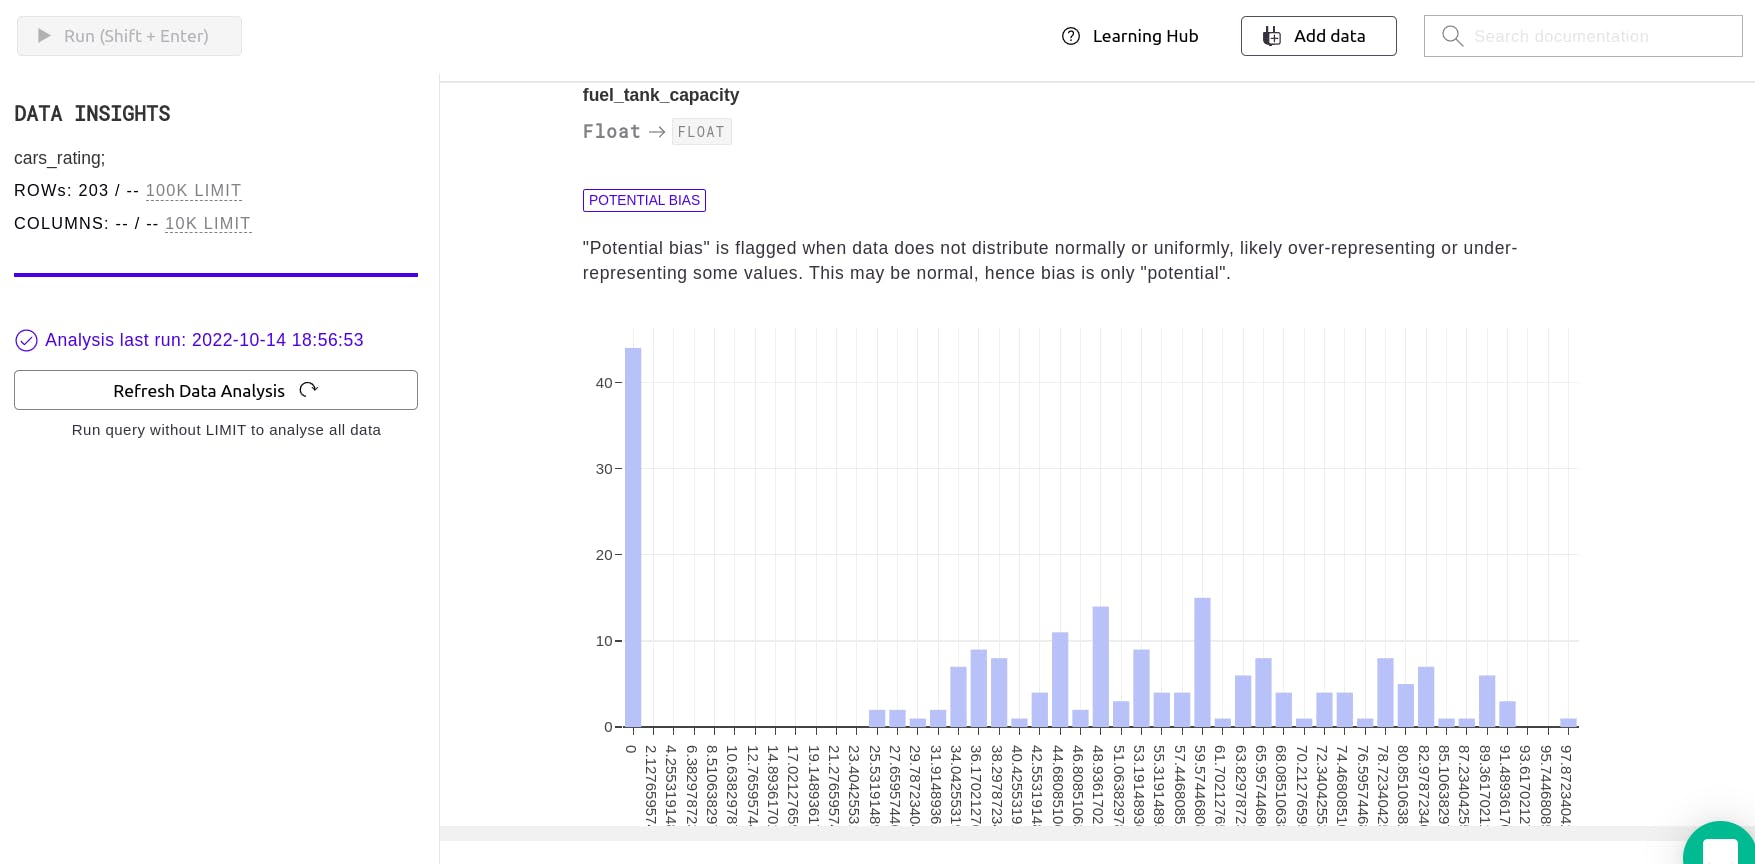
 data insightsbutton. Here I've used my imported data regarding cars and demonstrated how the data insight feature works. After selecting the table and its data, we can now click on theData Insightbutton.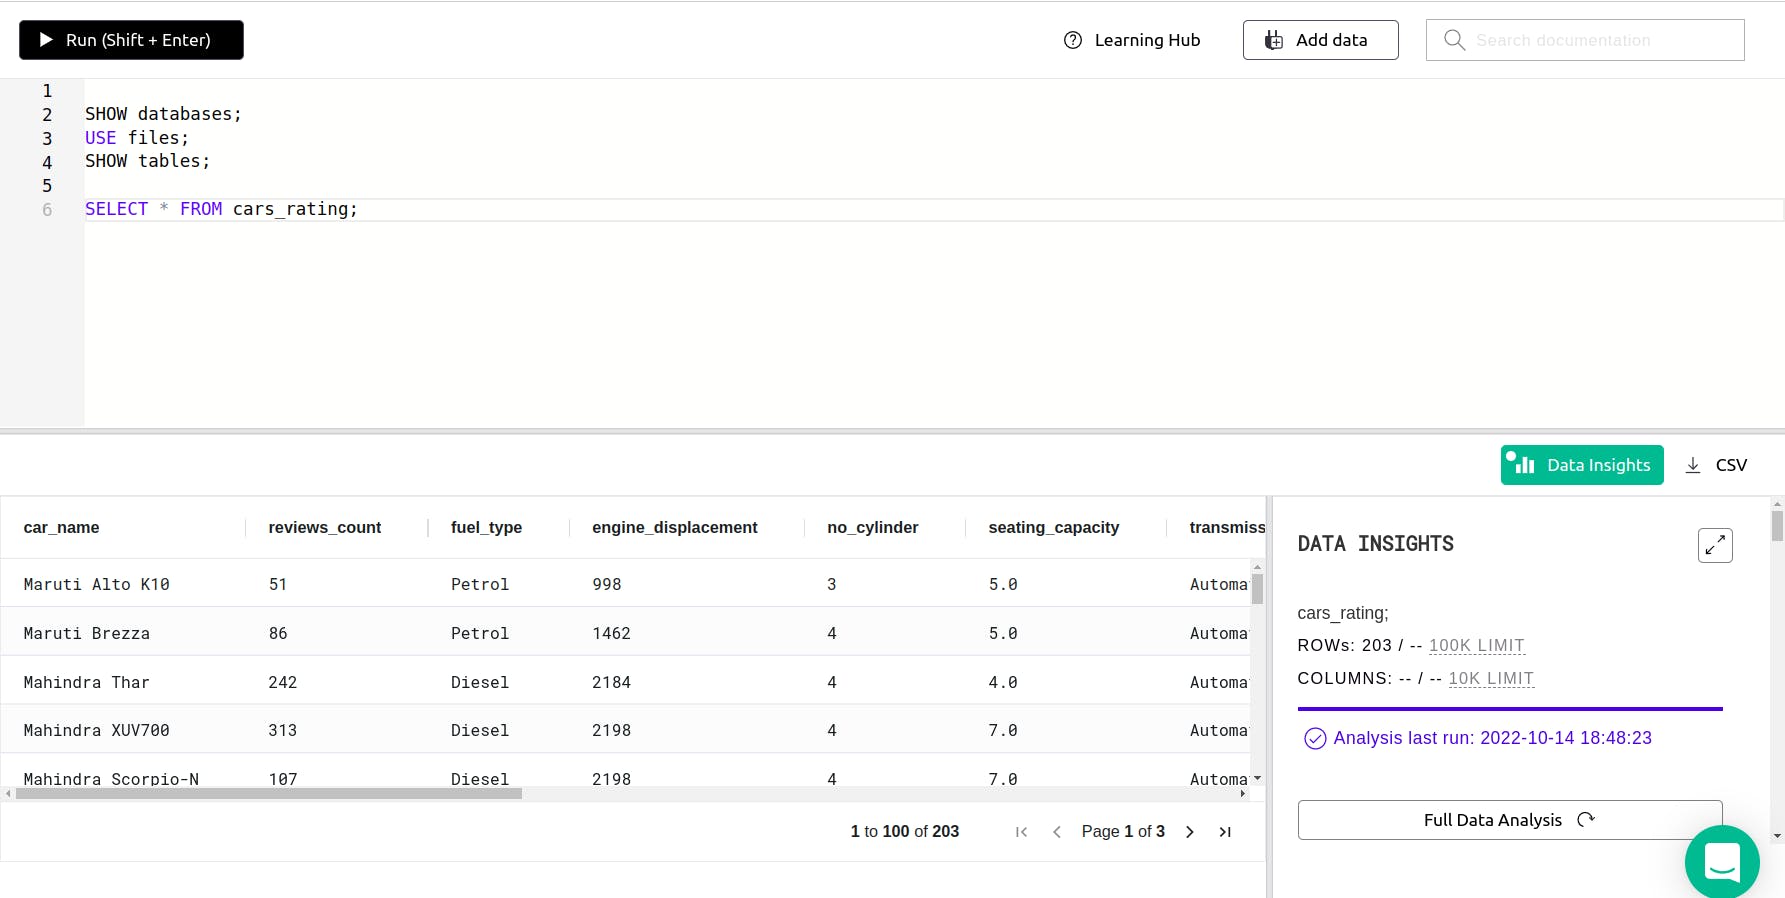 Then click on the
 full data analysisbutton.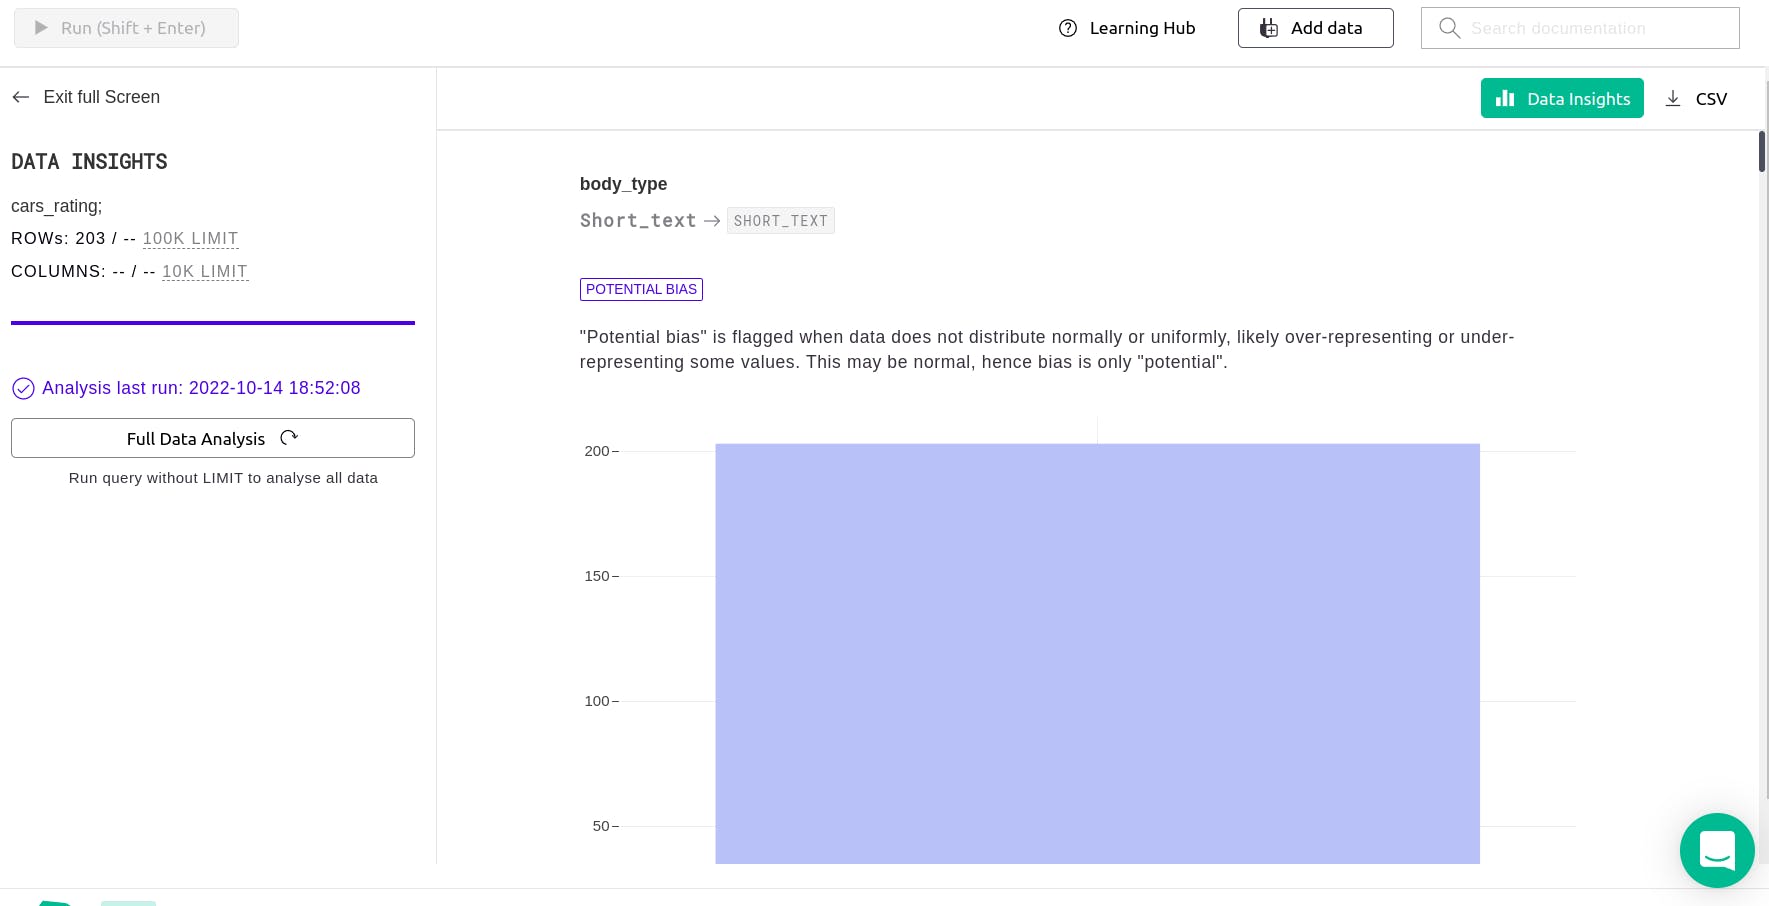 After clicking on the full data analysis button, we can view bar graphs that are displayed for our dataset.
 We can also export CSV files of our dataset using the
 CSVoption.And finally, we have a sidebar that has 2 options
EditorandAdd Data, we can toggle between the "editor" and "add data" sections easily using the sidebar.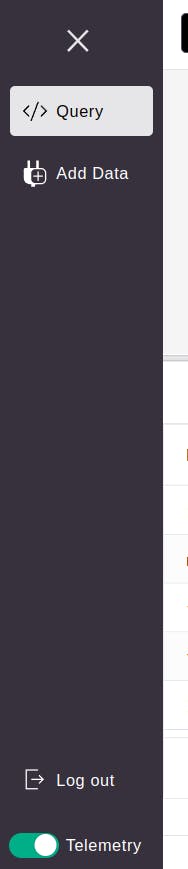
Let's Begin with Training the ML model to Predict Car Rating :
Firstly we will need a dataset, I have a CSV file with the dataset regarding cars and its specifications.
You can get it from Kaggle here
After that let us use the
Add Dataoption on the editor to import data. Then select the files option, and after that select the import file option. Drag and drop your CSV file and give a name to your table.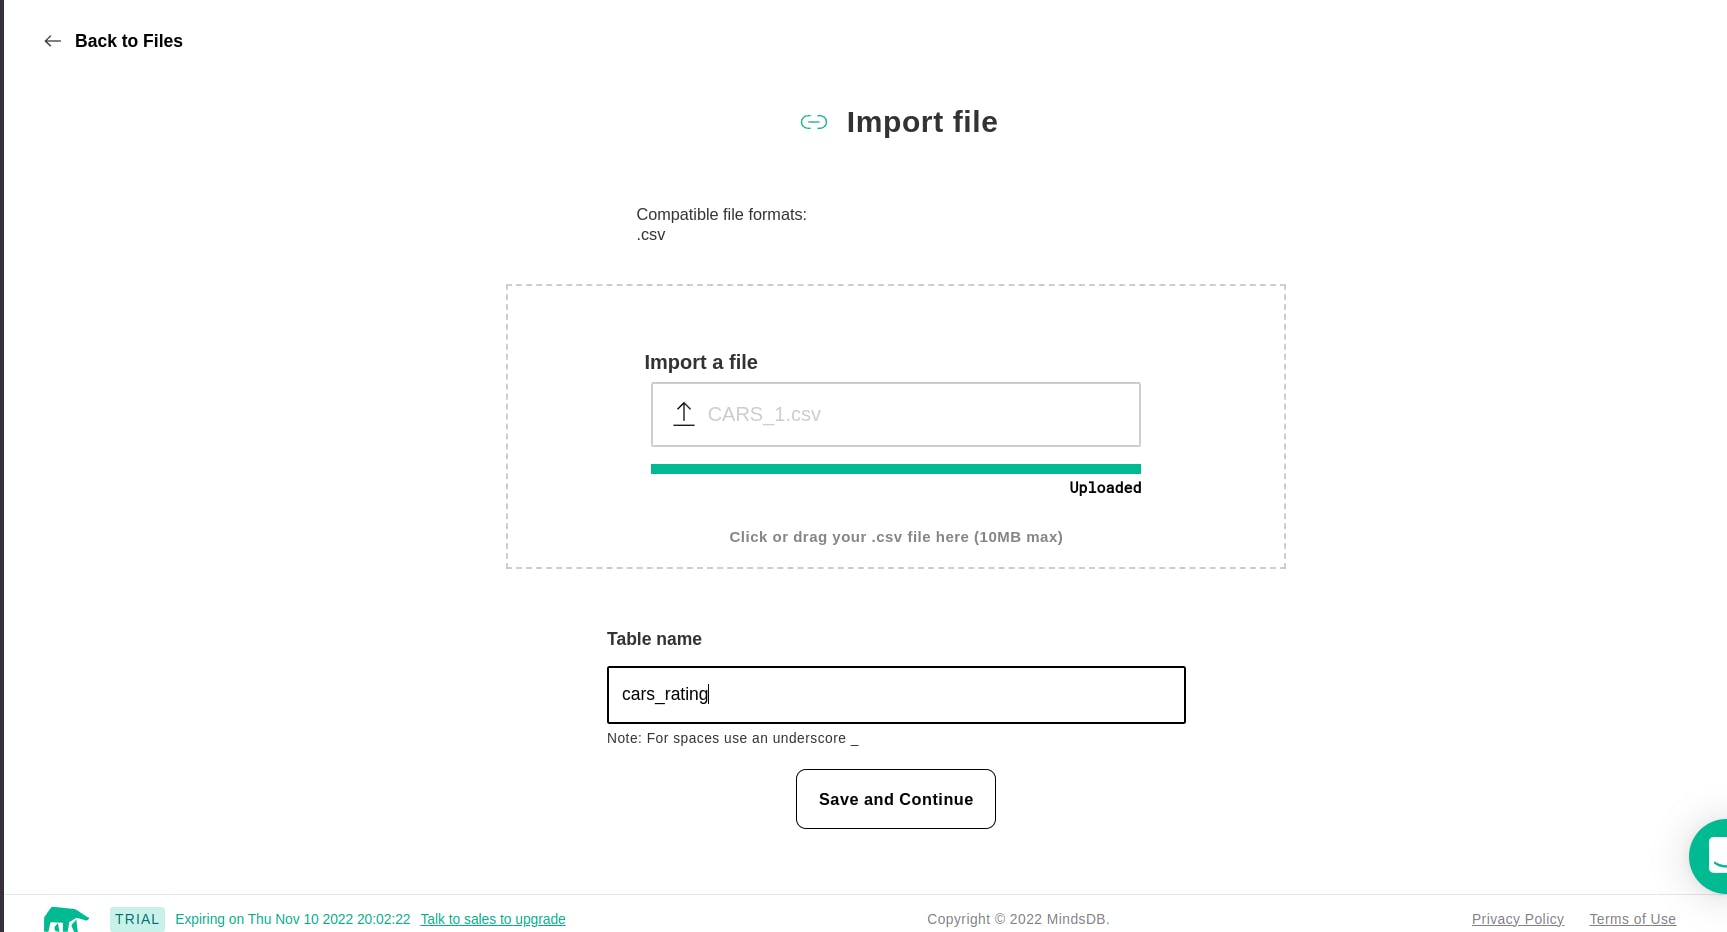 After that click on save and continue.
When we click on save we get redirected to the editor. And two queries are pasted automatically.
The query is as follows
After that click on save and continue.
When we click on save we get redirected to the editor. And two queries are pasted automatically.
The query is as followsSHOW TABLES FROM files; SELECT * FROM files.cars_rating LIMIT 10;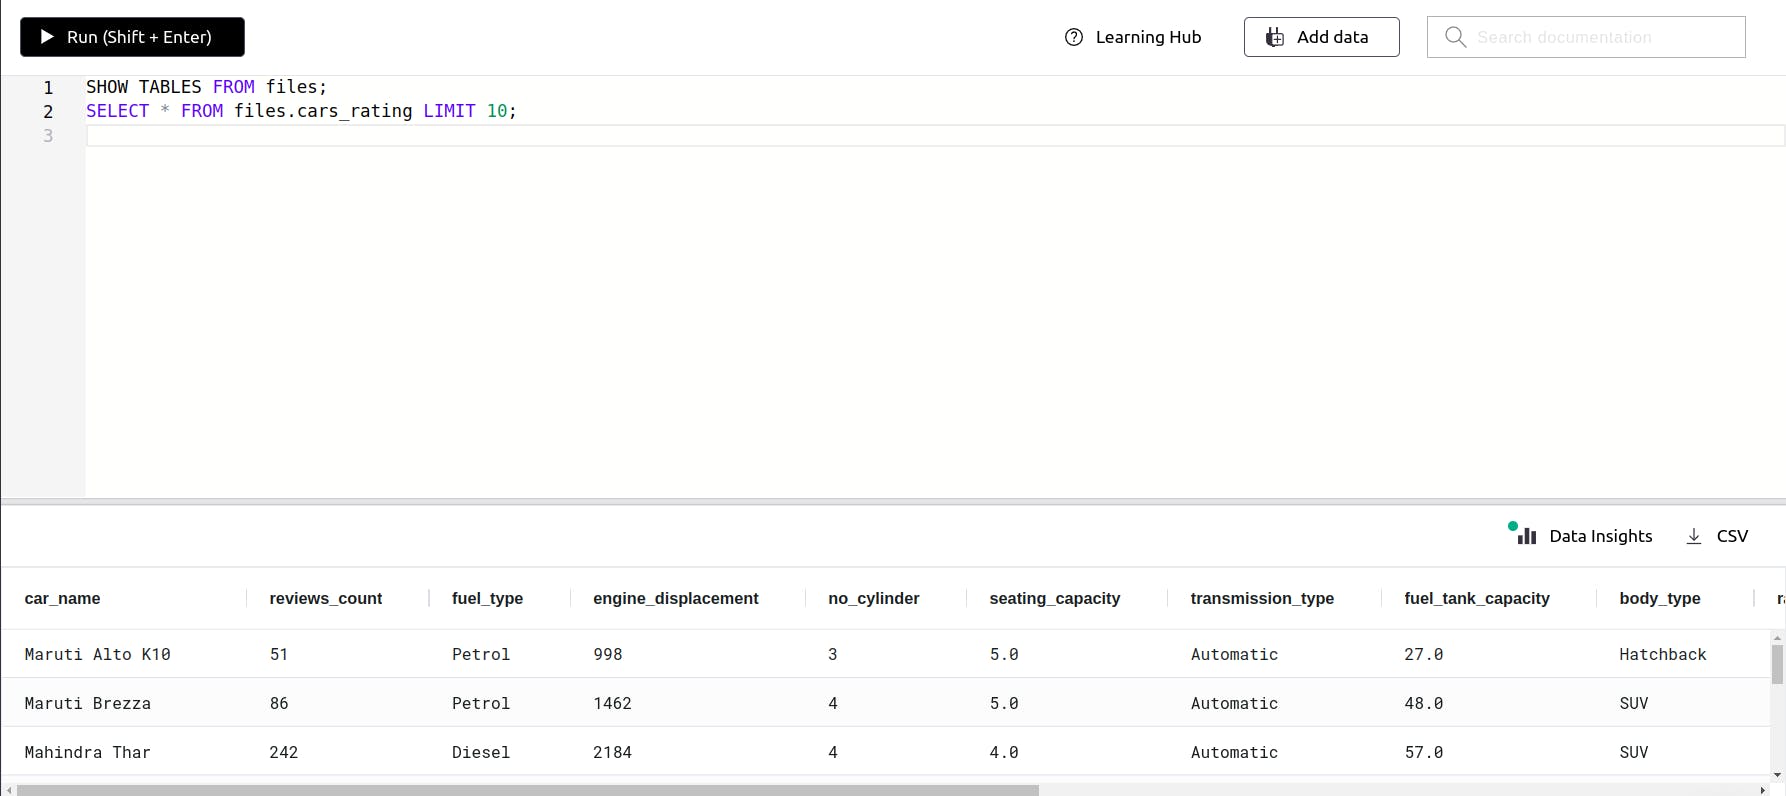 The above two queries show tables from the database name files and display data from every column present in the table up to 10 rows because we have mentioned the limit of up to 10.
 Now many of us will be surprised about where this
filesdatabase became from cause we haven't created it !! When we import a CSV file mindsdb creates a database namedfilesfor us. And our cars.csv file gets saved as a table inside the files database. We can view our table with just a few SQL queries.SHOW databases;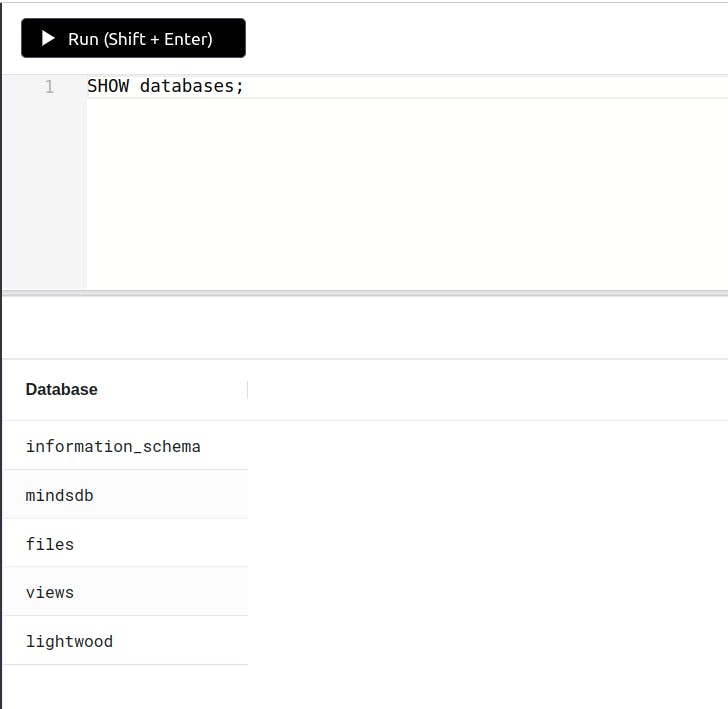 We will find some databases given by mindsdb by default.
 SHOW databases; USE files; SHOW tables;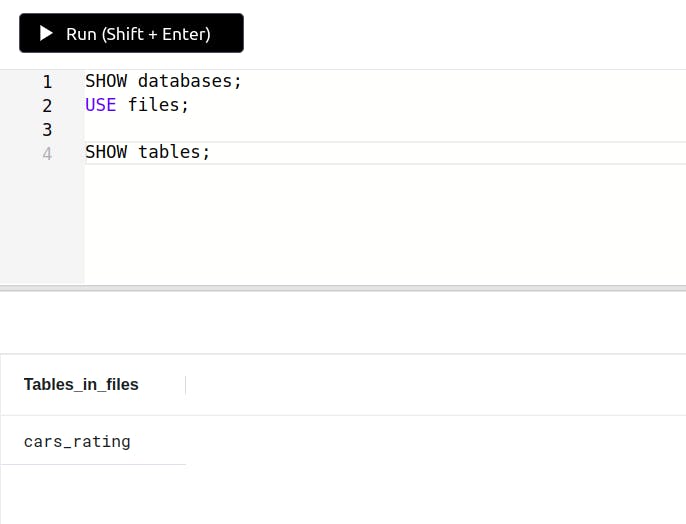 And inside the
 filesdatabase, our cars.csv file is stored as a table with the namecars_ratingwhich had given while importing our CSV file.Now let's predict the rating of our car based on the data we added as a table. To do so, we just need to type a few lines of SQL query
CREATE PREDICTOR
mindsdb.cars_rating_predictor
FROM files
(SELECT * FROM cars_rating)
PREDICT rating;
To explain the above scenario in simple words, we trigger the ML task using the
CREATE PREDICTORkeyword to make some predictions using our existing data from the table. We are training a model named cars_rating_predictor to predict the rating of cars using the data from cars_rating. And you can give any name to your model, here I've given the name cars_rating_predictor. And this model cars_rating_predictor is saved as a table inside a database named mindsdb.After running the above query it takes some time to train our ML model. To check the status we can use the following query
SELECT * FROM mindsdb.predictors
WHERE name='cars_rating_predictor';
We get an output which looks something like this, where its states whether ML model training is completed or not, the accuracy of the ML model, mindsdb version, what we want to predict (here we want to predict cars rating), and we can even see whether we got error while training our predictor ML model. Here the accuracy is 0.453 which is less because we have used fewer datasets to train our Prediction model.

Note : Mindsdb free trial version offers a training model limit of up to 10,000 datasets. If your dataset has 10k rows and columns it might give you errors while training the ML model.
Now we have trained our prediction ML model, let's see how it predicts the rating of a car with different specifications which is not in our dataset. Here I've tried to predict the rating of the Toyota Urban car which is not in our dataset.
SELECT rating,
    rating_explain
FROM mindsdb.cars_rating_predictor
WHERE car_name = 'Toyota Urban Cruiser Hyryder'
AND fuel_type='Petrol'
AND seating_capacity=5
AND engine_displacement=1490
AND fuel_tank_capacity=45;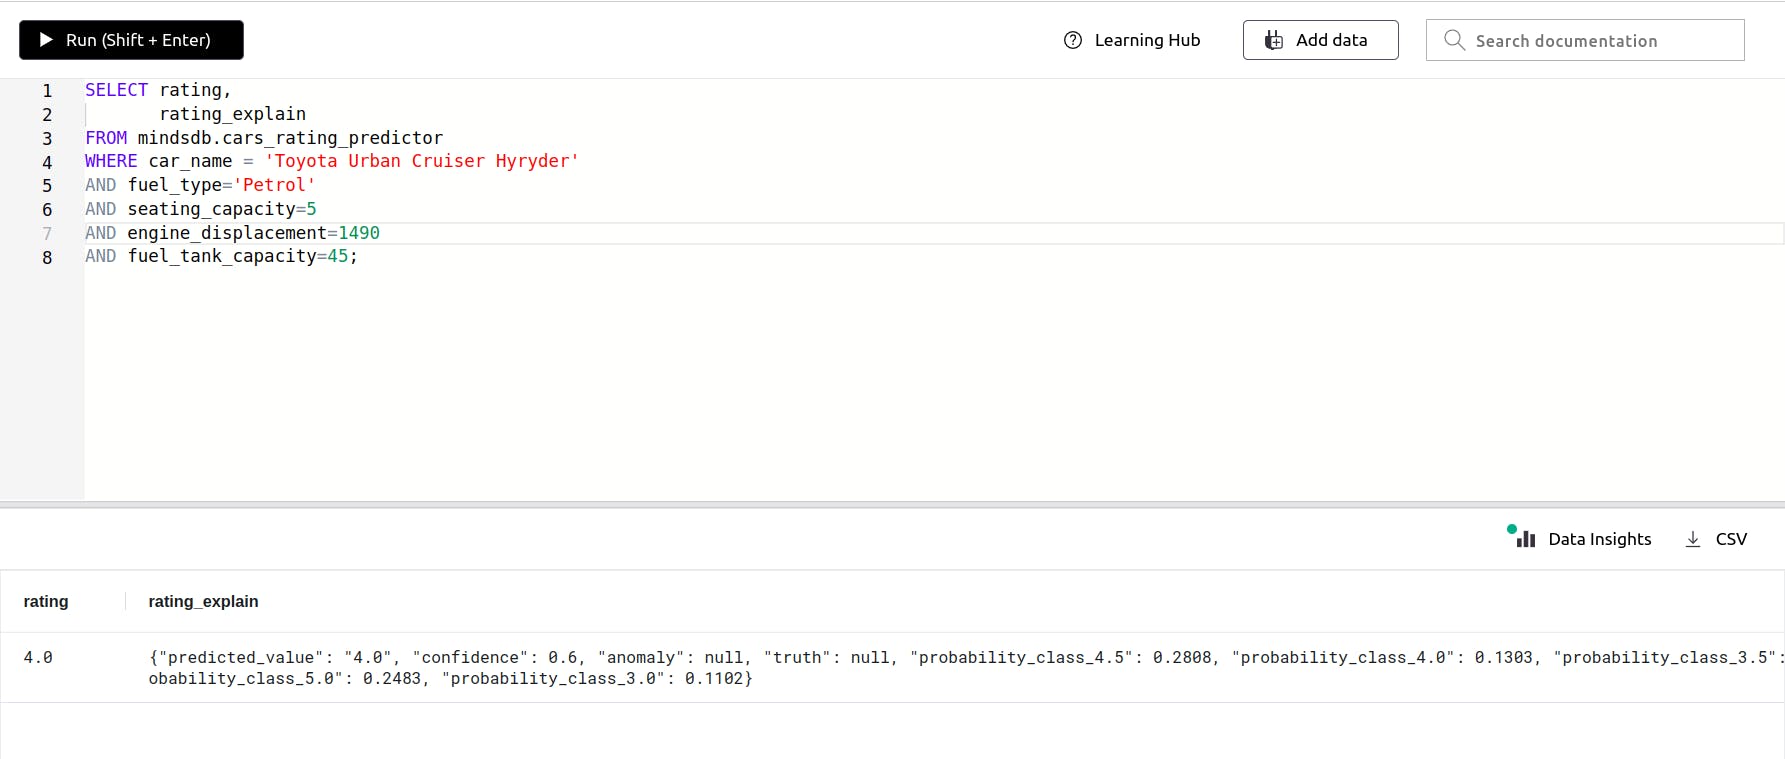
Yay, if you have read and followed this tutorial till here, I'm pretty sure you have successfully trained the prediction ML model and predicted the rating of the car🥳🎉.

If you liked this tutorial and found it helpful definitely give it a 👍 and follow me on Twitter : twitter.com/_Atharva_08 , Github : github.com/StarTrooper08
And if you loved using Mindsdb give it a ⭐ on Github. Github : github.com/mindsdb/mindsdb